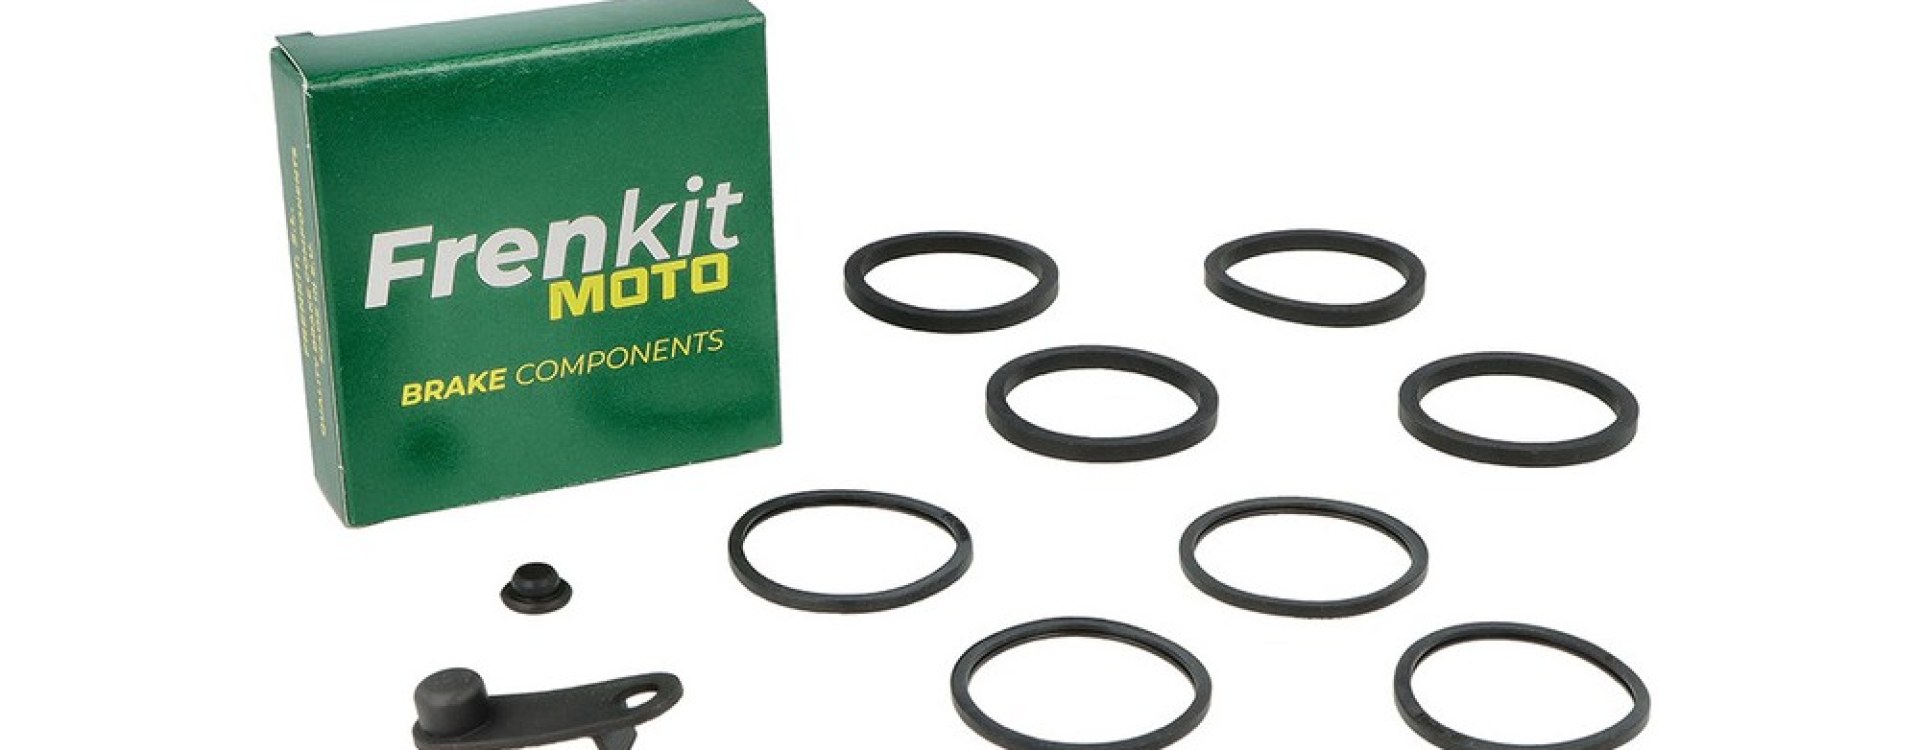
Learn to spot the signs of a worn brake caliper, what's included in a seal and piston kit, and how to pick one...
Search in blog
Blog categories
Latest posts
Brake Caliper Rebuild Kit: When & How to Choose
Read more
Fork Oil Seals: Leak Signs & Choosing the Right Kit Read more
A practical guide to spotting a leaking fork oil seal, understanding what causes it, and choosing the right fork seal...
Winter Motorcycle Storage: Battery, Cover, Checks Read more
Practical guide to winter storage for motorcycles and scooters: battery care and battery tenders, breathable indoor...

Motorcycle Mirrors: OEM vs Non-Approved – What the Law Says & Why Choose OEM Read more
When customising or replacing motorcycle parts, mirrors are often among the first components changed. However, not...

Come scegliere i dischi freno giusti per la tua moto: guida completa Read more
I dischi freno sono tra i componenti più importanti per la sicurezza della tua moto. Una frenata efficace può fare la...
Popular posts
Motorcycle Mirrors: OEM vs Non-Approved – What the Law Says & Why Choose OEM
When customising or replacing motorcycle parts, mirrors are often among the first components changed. However, not...
Read more
Honda CB500 Maintenance: Complete Guide to Replacing the Air Filter, Brake Pads, and Spark Plug
Regular maintenance of your Honda CB500 is essential to ensure optimal performance and safety during every ride. In...
Read more
Benelli TRK Maintenance: Complete Guide to Replacing the Air Filter, Brake Pads, and Spark Plug
Regular maintenance of your Benelli TRK is essential to ensure optimal performance and maximum safety on every...
Read more Come scegliere i dischi freno giusti per la tua moto: guida completa
I dischi freno sono tra i componenti più importanti per la sicurezza della tua moto. Una frenata efficace può fare la...
Read more Fork Oil Seals: Leak Signs & Choosing the Right Kit
A practical guide to spotting a leaking fork oil seal, understanding what causes it, and choosing the right fork seal...
Read moreFeatured posts
Motorcycle Mirrors: OEM vs Non-Approved – What the Law Says & Why Choose OEM
When customising or replacing motorcycle parts, mirrors are often among the first components changed. However, not...
Read more Come scegliere i dischi freno giusti per la tua moto: guida completa
I dischi freno sono tra i componenti più importanti per la sicurezza della tua moto. Una frenata efficace può fare la...
Read more Benelli TRK Maintenance: Complete Guide to Replacing the Air Filter, Brake Pads, and Spark Plug
Regular maintenance of your Benelli TRK is essential to ensure optimal performance and maximum safety on every...
Read more Honda CB500 Maintenance: Complete Guide to Replacing the Air Filter, Brake Pads, and Spark Plug
Regular maintenance of your Honda CB500 is essential to ensure optimal performance and safety during every ride. In...
Read moreBlog tags
motorcycle brake caliper fork dust seals chain care winter scooter storage tips motorcycle battery tender motorcycle parking winter caliper seal kit fork seal kit indoor motorcycle cover battery maintainer fork oil brake system bleeding fork oil seals motorcycle winter storage suspension maintenance fork oil seal replacement motorcycle fork leaking oil brake caliper rebuild kit motorcycle fork parts winter motorcycle maintenance
Photo gallery
-

Sample gallery